

Article
The useful thing about an outline is not only that it has structure. It is that the same structure can answer different questions.
Sometimes you need to write a passage without feeling as though you are filling in boxes. Sometimes you need to see the whole shape at once. Sometimes the outline is so deep that one branch deserves the screen. At other times, the important work is comparing several branches side by side.
Traverse provides four views for those moments:
- Writer for a continuous writing flow.
- Outline for a classic indented overview.
- Auto Columns for following one path through a deep hierarchy.
- Manual Columns for keeping several branches open and comparing them.
They are not separate document formats. Switching view does not convert, copy or flatten anything. Every view reads and edits the same nodes in the same OPML outline.
The four views at a glance
| View | Best when you want to… | Shortcut |
|---|---|---|
| Writer | Draft and read with the flow of a document | Command-2 |
| Outline | Scan and reshape the wider hierarchy | Command-1 |
| Auto Columns | Follow one branch through several levels | Command-3 |
| Manual Columns | Compare branches or see filtered matches together | Command-4 |
The toolbar’s View control switches between them too. The shortcuts make it practical to change perspective for a few seconds, make a decision and return to the previous view.
Writer view: stay with the words
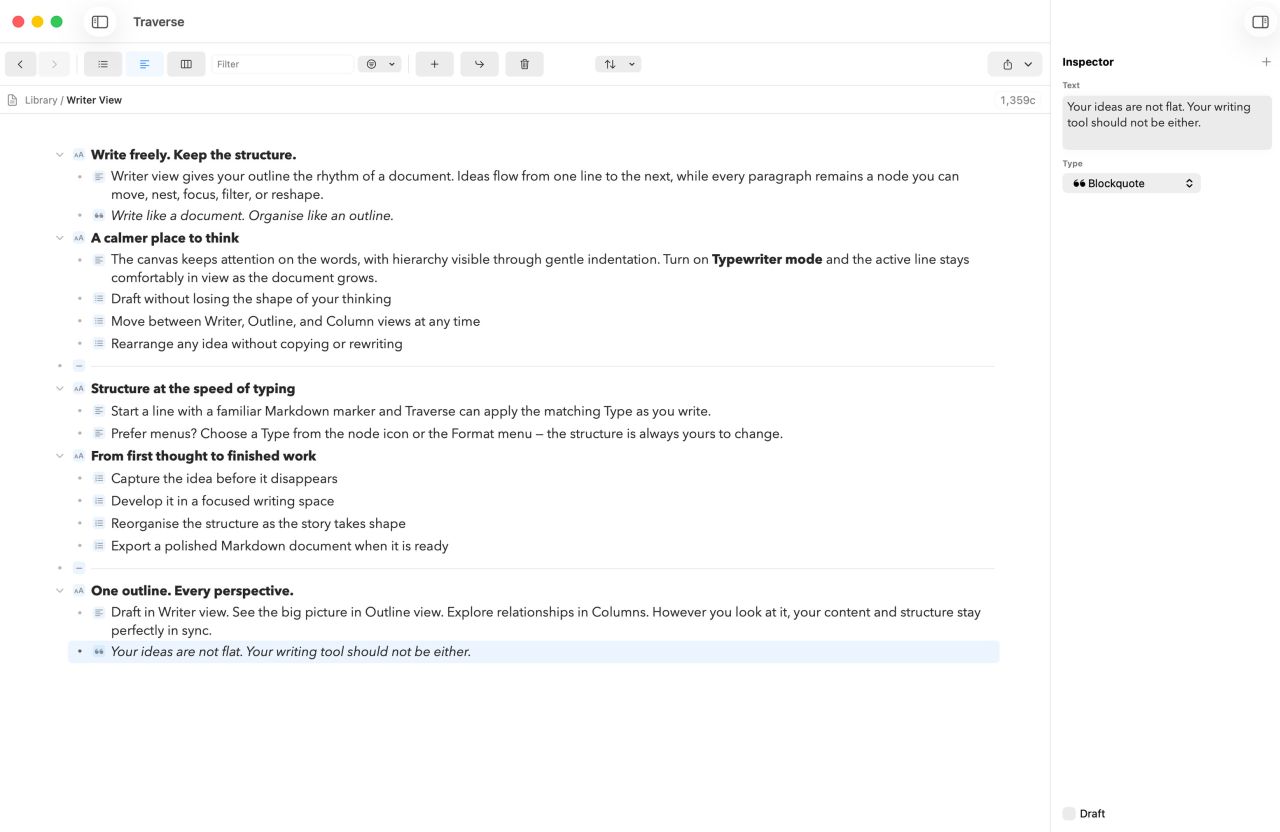
Writer view presents the outline as a calm, continuous document. Hierarchy is still visible through indentation, but the emphasis moves from rows and containers to the text itself.
Use it when:
- A report, article, chapter or brief is becoming real prose.
- You want to read several nodes as one developing passage.
- Type roles such as Heading, Body, Blockquote and Bullet should feel like document elements.
- A Fountain outline is moving from beats into action and dialogue.
- You need structure nearby without letting it dominate the screen.
Writer view remains an outliner. Return creates the next line at the same level. Shift-Return creates a child. Tab and Shift-Tab move the current node deeper or shallower. Moving or deleting a node still moves or deletes its children with it.
This is particularly effective with Type or Fountain. A Heading remains a Heading, a Blockquote is styled as quoted material, and Fountain characters and dialogue keep their roles. Smart entry lets you begin a line with a familiar marker followed by a space—such as # for a Type Heading or . for a Fountain Scene Heading—and Traverse applies the role as you write.
Keep the active line in position
Choose View → Enable Typewriter Mode, or press Control-Command-T, to keep the line being edited near the centre of the window. This reduces the gradual drift towards the bottom edge during a longer session.
Typewriter mode changes only the scrolling behaviour of Writer view. It does not alter the document or the position of any node.
Outline view: see the shape
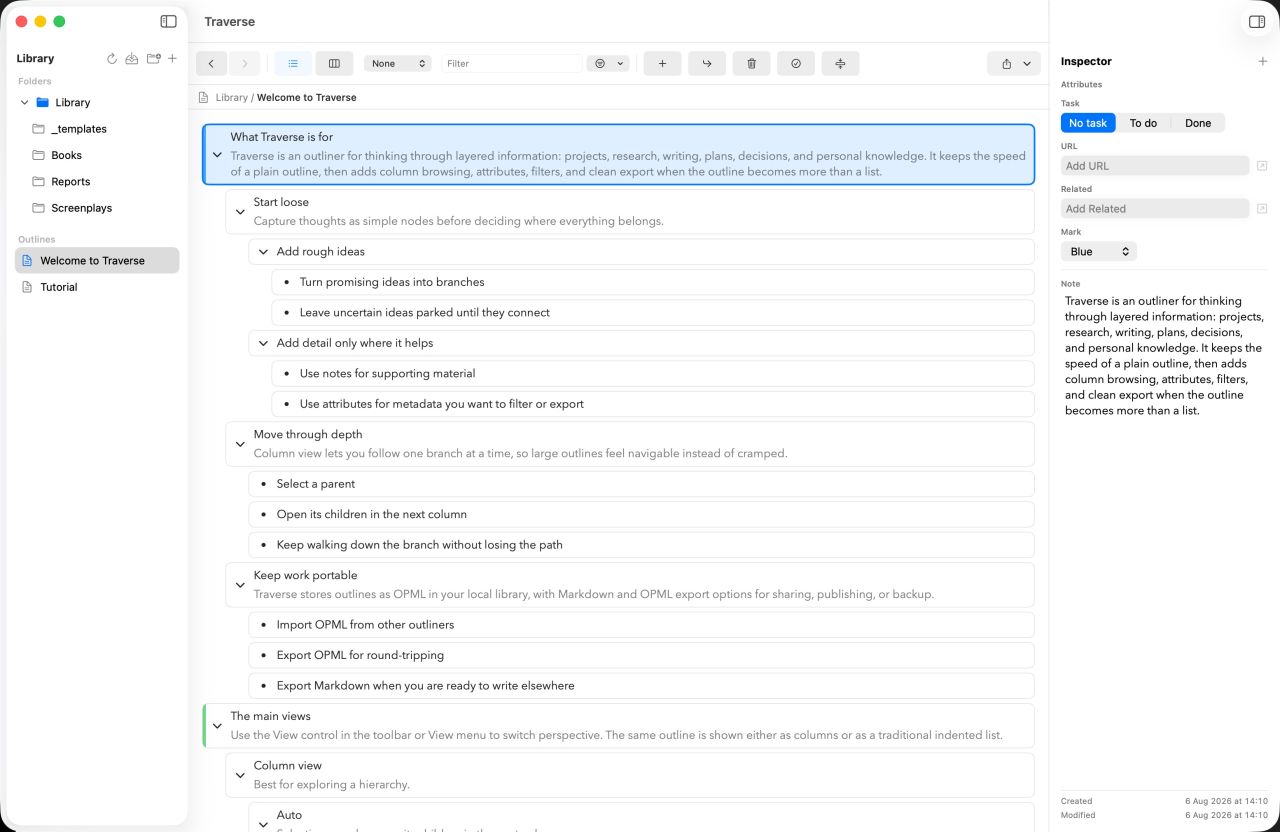
Outline view is the traditional indented list. It is often the quickest place to understand the overall sequence, collapse noisy branches and make structural edits with the keyboard.
Use it when:
- You want to scan a long run of siblings.
- The order of sections, scenes or project phases is the main question.
- You need to drag several branches into a new sequence.
- Collapsing selected sections will reveal the document’s larger rhythm.
- You want a familiar overview before moving into more focused work.
Outline width can be Narrow, Medium, Wide or Full. A narrower measure is useful for concise plans; a wider one gives prose, notes and visible attributes more room.
Writer and Outline complement each other. Writer asks, “How does this read?” Outline asks, “How is this built?” Command-1 and Command-2 make that a very quick conversation.
Auto Columns: follow one path
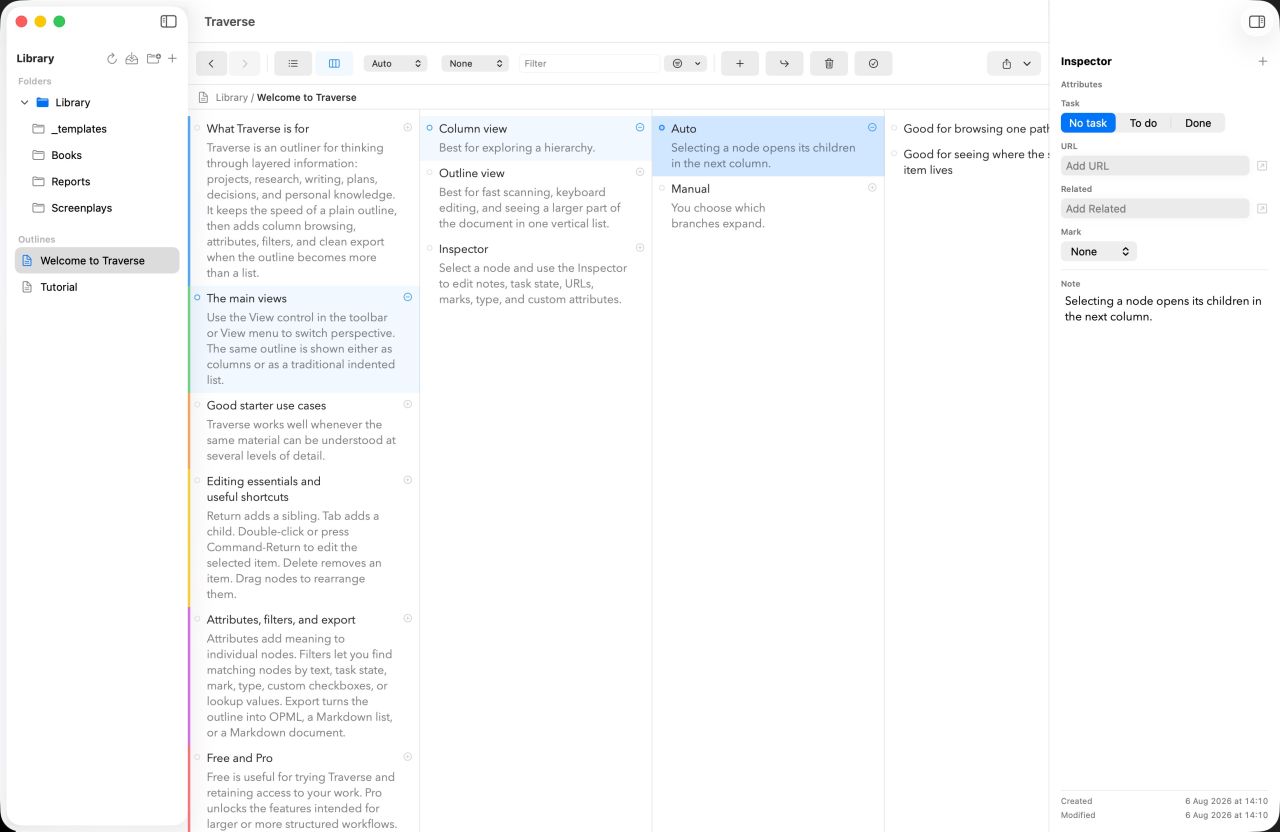
Auto Columns turns depth into a horizontal path. Select a parent and its children appear in the next column. Select one of those children and the next level opens beside it.
Use it when:
- The outline is several levels deep.
- You want to explore without expanding every branch.
- Reading one topic in context matters more than seeing all siblings at once.
- You need a clear breadcrumb from the root to the current node.
- The work resembles a taxonomy, knowledge map, decision tree or nested project plan.
Auto is intentionally selective. As you choose a path, Traverse keeps the relevant columns in view and opens what comes next. It is a strong default for browsing a large outline whose full expansion would be overwhelming.
Manual Columns: compare and arrange
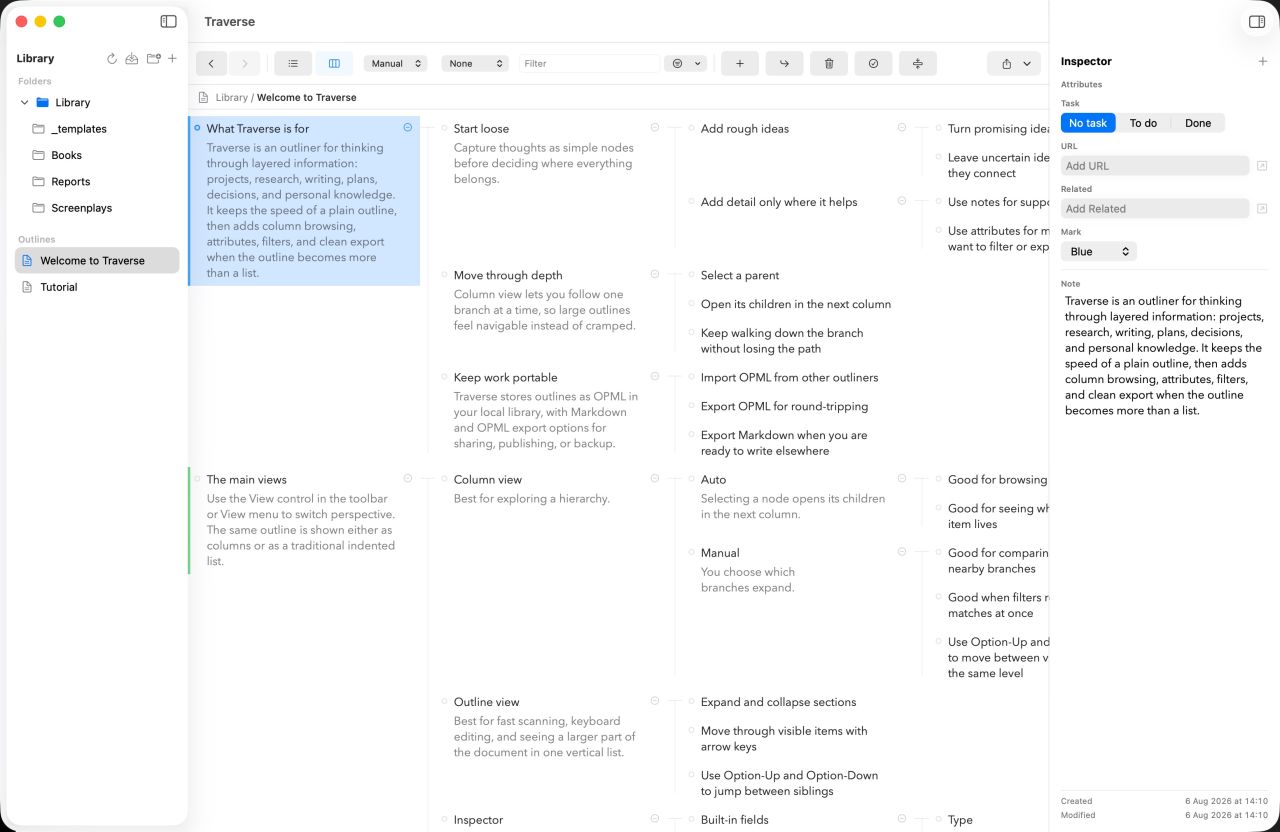
Manual Columns gives you direct control over which branches are open. Instead of replacing the path automatically, it lets multiple parts of the hierarchy remain visible together.
Use it when:
- Two or more branches need to be compared.
- You want a panoramic workspace for a particular task.
- A filter has found matches in different parts of a large document.
- Several parent sections need to stay visible while their children change.
- You are reorganising material across branches.
Parent nodes remain available as sticky headers when a branch extends beyond the viewport, helping long columns retain their context.
Choose a useful column width
Column view offers four width settings:
- Normal for a compact overview.
- Wide when nodes contain more prose.
- Extra Wide for long text, notes or visible attributes.
- Dynamic to size each column from the content it currently displays, within sensible limits.
Dynamic width is useful when one level contains short labels and the next contains substantial text. Fixed widths are better when a stable grid matters more than fitting each column individually.
One workflow, several perspectives
Consider an article outline with sections, evidence and draft paragraphs.
- Begin in Outline to arrange the argument.
- Switch to Auto Columns to follow one section into its evidence and notes.
- Use Writer to turn those nodes into connected prose.
- Open Manual Columns to compare that section with another or review filtered items that still need work.
- Return to Outline to check the final sequence.
Nothing is handed off between those steps. A paragraph added in Writer is immediately present in Columns. A branch moved in Outline appears in its new place everywhere. A Type, Fountain role, Task state, Mark or Note belongs to the node rather than to the view.
Focus and filters work on the same principle. They temporarily reduce what is visible without creating a second outline. Clearing them restores the surrounding structure and returns the selected node to view.
Set the right starting view
Open Settings → Outline to choose the view used for new blank outlines. Pick the perspective that suits most of the work you create; it remains easy to switch afterwards.
For a particular document, open Document Details from the breadcrumb and set its Default view. This metadata is stored in the working OPML file.
Templates keep their own saved Default view. That lets a report Template open in Writer, a research map open in Auto Columns and a comparison workflow open in Manual Columns without making one global setting serve every kind of work.
Keep the controls close
Choose View → Show Keyboard Shortcuts to display a small floating reference bar at the bottom of the current view. It shows the main outline commands—Add sibling, Add child, Indent, Outdent, Move up and Move down—using the shortcuts appropriate to that view.
This is useful while learning Writer view, where Return, Shift-Return, Tab and Shift-Tab feel more like document editing, and when moving between views whose controls solve the same structural actions in slightly different ways.
The view is a question, not a commitment
There is no best Traverse view in isolation. There is only the view that makes the current question easier to answer.
Use Writer when the words need continuity. Use Outline when sequence and shape matter. Use Auto Columns to travel down one path. Use Manual Columns when several paths need to stay on screen.
The important part is that you never have to choose between those benefits permanently. The outline remains one portable file, and every perspective stays in sync.
Traverse
Keep one outline and choose the perspective that helps with the work in front of you.